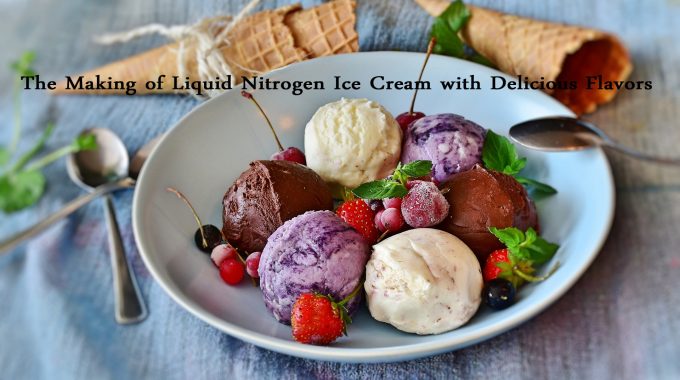
There must be hardly anyone who will refuse for ice cream, until unless he doesn’t have any strong reason behind it. In-fact, you will find lots of people enjoying the taste of an ice cream during the months of bitter cold. The soft and creamy taste of ice cream is enough to bring water in the mouth of a person at first instance. Going through this craze of people towards it, different types of experiments are made by the manufacturers of ice cream. The recent invention in this field is liquid nitrogen ice cream, that facilitates the people to get the ice cream prepared in front of their eyes on demand.
Well, this might be surprising for you to trust, until unless you do not see the same with your naked eyes, due to which it is also referred as the five minutes way to ice cream. Because, here the maker need not have to freeze the ice cream for ten to eleven hours. Just, depending upon the demand of flavor required by the customer, he has to freeze the necessary mixture in the liquid nitrogen at the temperature before 3200 F, and within the span of five minutes, the crisper, creamier and nutritional ice cream is ready to eat.
Here it would be important to understand that although, the ice cream from liquid nitrogen is developed in the span of five minutes, but trying your hands by watching the process of its making in some liquid nitrogen ice cream lab might be dangerous, until unless you do not undergo its necessary training.
Making of liquid nitrogen ice cream: Let us now understand the process of making a liquid nitrogen ice cream.
Safety: Considering the risk factors involved in doing any work, is the first step to consider, before stepping in some new initiative and therefore making an ice cream from liquid nitrogen is not an exception to it. Therefore, before you start making the ice cream it is suggested to wear hand gloves, so that your hands do not get affected by nitrogen. The best way to protect yourself from any damage is to take its proper training.
The making process of the liquid nitrogen ice cream:
- In the large bowl, add one quart of milk.
- Now add vanilla and sugar in the milk and stir the mixture, so that the sugar dissolves in it.
- Once the sugar gets dissolved in the mixture of milk you can add the type of flavor you wish to eat for instance, chocolate, strawberry, butter or any other flavor depending upon your taste, instead of vanilla. Here, you can also add small pieces of chocolate chips, pieces of roasted bread etc, to enhance the taste of an ice cream.
- After you are done with this process, it is the time to make use of liquid nitrogen for freezing the mixture and preparing the ice cream. For this you can put on your hand gloves and glasses to protect yourself from any damage. Now as it is possible that as soon as you put the bowl in sink for freezing, it will definitely overflow, moreover as you are using liquid nitrogen for the first time you must not be aware about the level of nitrogen you will need for freezing. But, still you can make use of one quart of nitrogen into the bowl containing the mixture.
- Once you have added liquid nitrogen in the mixture of milk and other ingredients that you want to mix in your ice cream do not stir the mixture, and let the nitrogen work according to its nature. Moreover, if you start stirring in the beginning the mixture will develop bubbles, which will be difficult for you to control.
- You will need to stir the mixture after the few minutes, but that also with a spoon of the wood. Here, you will notice that still only few portion of bowl has frozen ice cream with rest of mixture still available in liquid form. Therefore, it freeze it completely keep on stirring it, until it do not takes a proper shape, for this you can add little nitrogen more to the mixture.
- Finally, within the span of five to ten minutes you will realize that the mixture is frozen and a creamier nitrogen ice cream is ready for serving to the customers.


