Are you interested in Wood Whittling or you’re that one creative camper who wants to enjoy his time in that deep contemplation of the-serenity which surrounds you? Learning the basic for Wood Whittling would be your guide to be the best wood Whittler.
First, it’s important to know that Wood Whittling is all about crafting something. The major tools you’ll need are a knife and wood.
- Whittling Wood: You can use any type of wood for whittling but there are some woods that are easier to work-with as well as whittle quiet better than others. However, the recommended woods would be softwoods that have small-grains like basswoods, Balsa, Pine and Random Trigs& branches; are easier to whittle as well as relatively inexpensive.
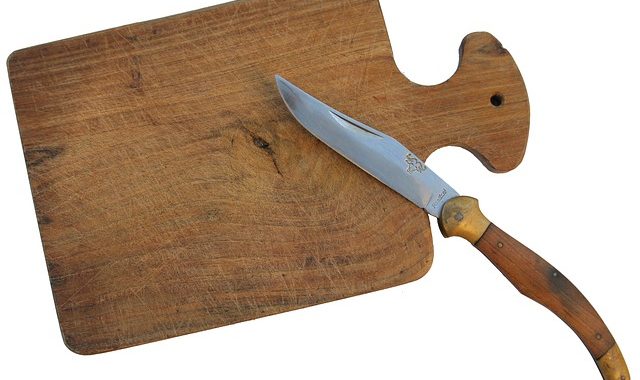
- Whittling Knife: Most people often have their pocket knives with them during their outdoor strips since they are portable making it the most preferred knife by most people as a whittling knife. However, there are specialized whittling knives; they are non-folding knives with a fixed-blade making them more-sturdy but what makes them great is their handles. They sit much-more comfortable in the hands compared to pocket knives. To sharpen your knife, you can purchase sharpening stones or rather use a combination of-600+ grit sandpaper as well as oil or water.
- Whittling Cutting: There are various cutting styles in whittling but for starters, we will start with the basics styles which include;
- Straightaway Rough Cutting: You will use this cutting at the start of your project in-order to carve your projects’ general shape. It entails holding your wood into your left-hand while your knife very firm in your right-hand. You’ll be making long sweeping cuts; with the grain going away from your body.
- Push Stroke/Thumb Pushing: You’ll use this stroke when starting to shape your project. You need to have a high-level of control over your knife to enable you push the knife away from you.
- Pull Stroke/Pairing cut: It’s quite similar to how push stroke works though it entails drawing the knife towards you with the grain while the thumb of your-cutting hand acts as a clamp at the-end of the wood. It’s a good time for you to wear a thumb guard.To practice these stokes, you can use bars of soap to help improve in your whittling.
Safety Guide:
Whittling involves using sharp knives and mostly soft woods. Here are some of the safety measures you should take when whittling. They include;
- Always keep your knife sharp for better cuts
- Wear gloves to avoid accidents.
- Take it or go slow- Whittling involves the art of meditative and relaxing. Thus, no need to rush, always make your cuts slowly, gradually as well as controlled to avoid accidents.
- Use a thumb pad-to protect your thumb when making strokes in-case you don’t wear gloves and it helps add detains to your-projects when suing the pull-strokes.
- For cut resistance, always prefer Kevlar gloves to leather gloves since they offer a great-degree of dexterity.
Resources Guide
If you wish to improve on your whittling skills, I recommend the following books. They include;
- “The Little Book of- Whittling”, Written by Chris LubKemann. This is one great book for Newbies or rather people who are starting to learn how to whittling.
- “The Art of Whittling”, Written by Walter Faurot. This book is targets those who’re ready to proceed to advanced projects.
- “Old Time Whittling”. By Keith Randich. It entails easy-to-learn techniques and guide for beginners.
Final Verdict
Whittling entails creativity and one needs to be attentive, careful and patient to learn how to make nice stroke to get a perfect shape and size. However, if it’s your first time, a sharp knife and most preferably a soft wood will be among your basic materials in your whittling project. To avoid having accidents, follow the above mention safety tips and with the use of those explain whittling cutting styles, you’ll be able to have your first project finished with a lot of ease.